
A guide to use macOS when with only a keyboard. Suffering a catastrophic error with your Apple computer? Does it limit you to only use the keyboard? Well, no more need to worry, here is how to reinstall macOS without using a mouse.
Necessity is the mother invention, and the way I am leading you is discovered out of suffering. When I experienced an issue with the trackpad on my MacBook Pro, that suddenly stopped displaying the cursor, and neither a wireless nor a wired mouse could resurrect the cursor.
I believed the subsystem of OS files were corrupted, so I attempted to reinstall macOS. In a bid to reload a fresh copy of the system to “clean up” any of the corrupt files preventing the mouse from displaying.
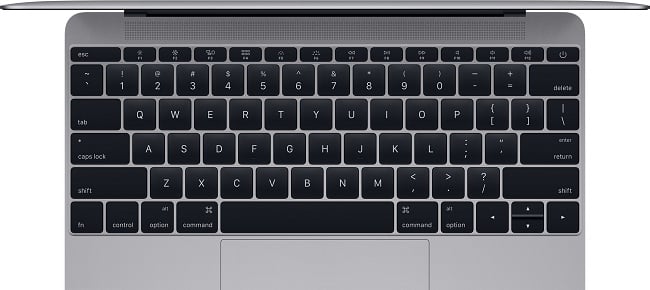
The process of installing macOS or OS X only required a few clicks of the mouse. But if you have to work from just the keyboard, the process would require additional steps, documented below.
Let’s start here:
First of all you have to boot your Mac to the Recovery Partition or to external boot media.
Must Read: Higher education flawed by huge crisis in 2017
Secondly, at the recovery welcome screen, you have to press Command+F5 keys (or press Command+Function+F5, if you are on an Apple laptop) to enable the accessibility features of VoiceOver.
Now, use the arrow keys or press Control+Option+Arrow up/down/right/left to select the language you want. After selection of language press Enter.
Now you are on the macOS Utilities selection screen. Here use the arrow keys to highlight Install macOS, you have to press the Tab button to highlight the Continue button, later press Enter.
On the 1st page of the macOS installation wizard, do highlight the Continue button utilising Control+Option+Arrow Down, and then press the Space Bar.
Use the same keyboard combination to get selected the Agree button at the EULA display screen. When you are prompted to confirm the selection, go to select the Agree button by pressing Tab and Space Bar.
Now you have to select the storage device that you will be installing macOS onto. Do use the Command+Option+Arrow keys to choose the section where the drives have been listed. To get selected the individual drive, press Control+Option+Shift+Arrow Down to choose the 1st drive in the list.
Carry on pressing the arrow keys left/right until you reach desired selection. Then press Control+Option+Shift+Arrow Down to highlight that very drive, and press the Space Bar to select it.
With the drive selected, go to press the Control+Option keys. Then use the arrow right/left buttons to highlight the Install button. Now press the Space Bar to select the Install button. (If you are using a laptop that is not connected to an AC power source, you’ll receive a prompt informing you of this). Press the Tab key once to get selected Continue. Now press the Space Bar to confirm acknowledgement.
Congrats! macOS has started installing on your system.